My "Gort" A6 build for beginners
#1
Well after months of consideration, I've finally decided to attempt my first HTPC build.

An abridged background:

I just completed a dedicated home theater in my home which was also a first time project for me. You can check out pics and info here

With the help of all the AVSers, I was able to build something for the first time which I'm really proud of but I feel like it wasn't complete. I wasn't too fond of the idea of getting up to put a blu-ray into the player each time I wanted to watch a movie, who does that anymore?! lol

As far as my experience with building computers, I have none. I've installed printer software before but that's about it...

Anyways, I decided to go with the A6 build. I saw a post by Gort about his HTPC build over on AVS and it intrigued me to the point that I followed him here. Not too much deviation from his build or any of the pioneers on this forum but I wanted to log yet another A6 build so that I can learn and those with my same level of experience can also learn. Wish me luck and on to the build:

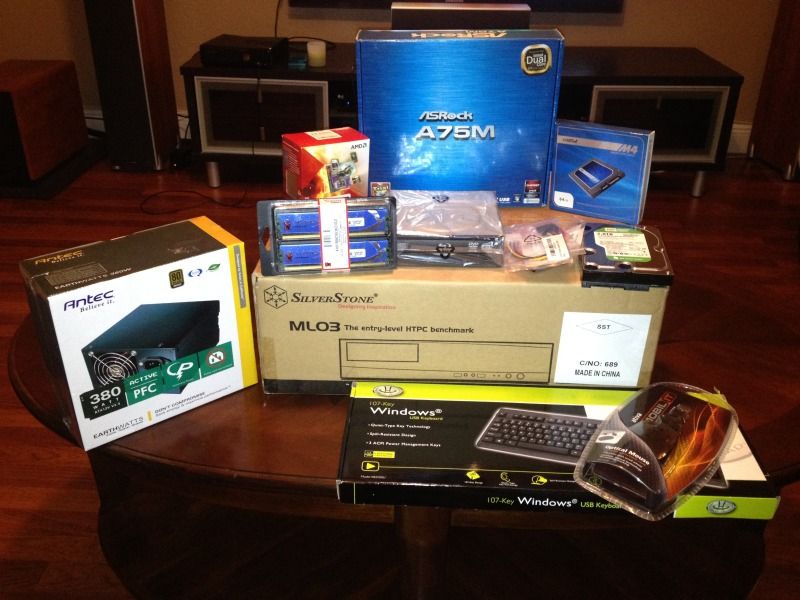
Here are the parts that I have chosen for my HTPC:

Ram
Kingston HyperX Genesis 4 GB Kit (2x2 GB Modules)

Case
SilverStone Aluminum/Steel Micro ATX Media Center/HTPC Case ML03B

SSD
Crucial 64 GB m4 2.5-Inch Solid State Drive SATA 6Gb/s CT064M4SSD2

CPU
AMD A6-3500 APU with AMD Radeon 6530 HD Graphics 2.1/2.4GHz Socket FM1 65W Triple-Core Processor

Motherboard
ASRock MB-A75M Socket FM1/ AMD A75 FCH/ SATA3&USB3.0/ A&GbE/ Micro ATX Motherboard

PSU
Antec EarthWatts EA-380D Green 380 Watt 80 PLUS BRONZE Power Supply

ODD
Lite on IHBS112-04 Black SATA 12X Blu-ray Rom and DVD Writer without Software

Operating System
Windows 7 Home Premium SP1 64bit (Full) System Builder DVD 1 Pack

Extra SATA (just in case)
StarTech 18in SATA to Right Angle SATA Serial ATA Cable (SATA18RA1)

Also, not included in this list is the HDD. I had a very generous friend donate a 2tb WD green drive which I will also install in this system.


I have to run the store tomorrow to grab a keyboard and mouse. Any suggestions are greatly appreciated.

All parts should be arriving tomorrow which is also when I will begin the build. I will include a ton of pics of my build and open wounds Big Grin
Reply
#2
I think you will be very happy with your build. As for a mouse or keyboard, I really don't have much info on that but was wondering after looking through your posts at AVS forum if you have thought of maybe using an Iphone or Ipad for your remote? Seems to me that would be pretty cool while you sit on your recliners with just a hand held for controlling the HTPC. I do assume you will be running xbmc on the HTPC and that you will have it connected to the internet. Also was wondering if you have thought on any storage, besides the 2tb drive given you?

Great project and will look forward to seeing the pics when all complete.
Reply
#3
Wow,..I'm happy to have helped you dive into the HTPC world.
Everything you listed is solid,..and once done,...you're going to love it.

For a keyboard/mouse,..I use the IOGEAR Multimedia Keyboard with Laser Trackball and Scroll Wheel, 2.4GHz Wireless GKM561R (Black)

It works great and the battery life is amazing.
Reply
#4
Gort FTW!
Reply
#5
(2012-08-21, 15:15)Harro Wrote: I think you will be very happy with your build. As for a mouse or keyboard, I really don't have much info on that but was wondering after looking through your posts at AVS forum if you have thought of maybe using an Iphone or Ipad for your remote? Seems to me that would be pretty cool while you sit on your recliners with just a hand held for controlling the HTPC. I do assume you will be running xbmc on the HTPC and that you will have it connected to the internet. Also was wondering if you have thought on any storage, besides the 2tb drive given you?

Great project and will look forward to seeing the pics when all complete.

Thanks so much. I am really looking forward into diving right in. Just waiting for the ODD in the mail today and I will get started. It's funny you asked about the remote because I just got my roomie remote up and running. It works great! I know that there are also alternative for controlling XBMC via the ipad but I would first like to find out if I can integrate the control of XBMC into roomie itself. If not, I have no problem downloading a program like constellation (which I hear great things about). I'll keep you posted!

(2012-08-21, 15:37)GortWillSaveUs Wrote: Wow,..I'm happy to have helped you dive into the HTPC world.
Everything you listed is solid,..and once done,...you're going to love it.

For a keyboard/mouse,..I use the IOGEAR Multimedia Keyboard with Laser Trackball and Scroll Wheel, 2.4GHz Wireless GKM561R (Black)

It works great and the battery life is amazing.

I will definitely keep my eye out for that. I know it will probably be twice as much at Compusa but I want to get this done ASAP!
Reply
#6
(2012-08-21, 16:19)azula Wrote: I will definitely keep my eye out for that. I know it will probably be twice as much at Compusa but I want to get this done ASAP!

CompusaHuh I thought they were out of business for many years now??
I lost some money on that stock when they were brought by the Mexican Billionaire Slim Something or other.


(2012-08-21, 16:05)Beer40oz Wrote: Gort FTW!

In my mind,...this is still the A6-Pack! Legendary! All credit to Beer.
To bad I hate the real stuff. Beer that is,..not the person. Wink
I know, I know,..sacrilege. A guy that doesn't drink beer.

Reply
#7
(2012-08-21, 16:37)GortWillSaveUs Wrote:
(2012-08-21, 16:19)azula Wrote: I will definitely keep my eye out for that. I know it will probably be twice as much at Compusa but I want to get this done ASAP!

CompusaHuh I thought they were out of business for many years now??
I lost some money on that stock when they were brought by the Mexican Billionaire Slim Something or other.


(2012-08-21, 16:05)Beer40oz Wrote: Gort FTW!

In my mind,...this is still the A6-Pack! Legendary! All credit to Beer.
To bad I hate the real stuff. Beer that is,..not the person. Wink
I know, I know,..sacrilege. A guy that doesn't drink beer.

Neither do I believe it or not! But where would we be without Beer40oz?! A land where we'd still have to get up every time we wanted to watch a movie. Unheard of! lol....still waiting on my ODD guys, until then...just taking in as much as I can!
Reply
#8
small update:

got the hardware assembled! took me about 3.5 hours from beginning to end. granted this is from someone that had no idea what a "sata" cable was! I took tons of pics which I will try to get uploaded shortly.
Reply
#9
(2012-08-24, 06:37)azula Wrote: small update:

got the hardware assembled! took me about 3.5 hours from beginning to end. granted this is from someone that had no idea what a "sata" cable was! I took tons of pics which I will try to get uploaded shortly.

Awesome azula... Nod Wink
Reply
#10
(2012-08-24, 06:37)azula Wrote: small update:

got the hardware assembled! took me about 3.5 hours from beginning to end. granted this is from someone that had no idea what a "sata" cable was! I took tons of pics which I will try to get uploaded shortly.

Awesome! I think this is the type of thing that inspires others who have never touched the insides of a computer see that it is possible.
I bet the hardest part for you was connecting those tiny case connectors to the motherboard. and in the right position,.. + -
It was for me,..but only because I think I need a new eyeglass prescription. Sad

Yes,..please upload pictures. This helps others walk in your footsteps.
Reply
#11
Everything purchased from amazon on Friday the 17th, I received most of my order on the following Monday and everything arrived by Tuesday. I can't say enough about amazon's customer service and UNREAL shipping!!!
Image

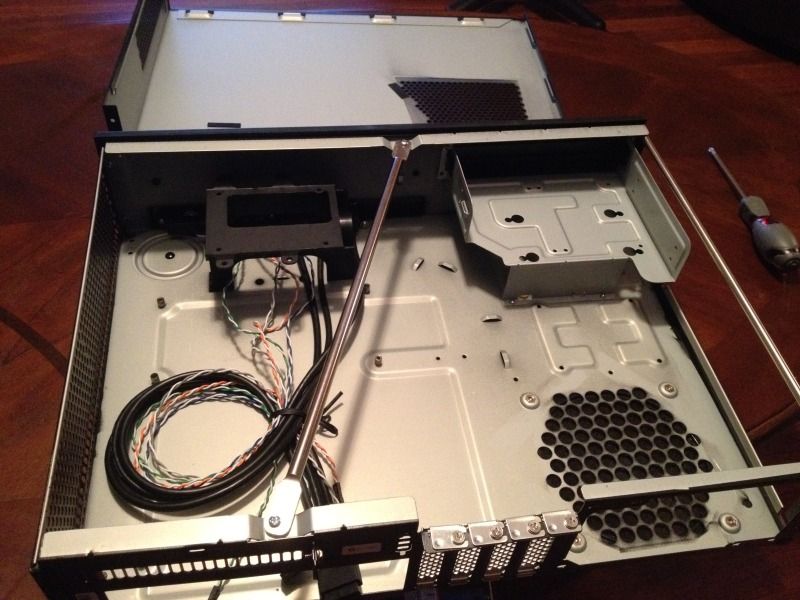
Case opened. Had trouble figuring out how to open the thing, lol. I eventually got it. If it wasn't for my extreme lack of knowledge regarding computers, I would've easily finished in half the time!
Image

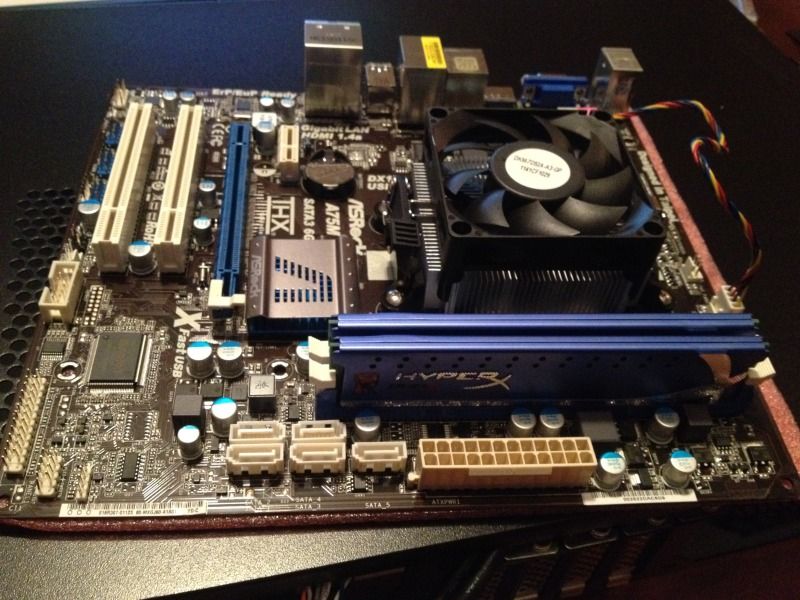
Motherboard with CPU installed, there is lever on the motherboard that you have to undo, place the cpu in (line up the arrows) then lock the lever into place.....really hard to mess this up. lol
Image

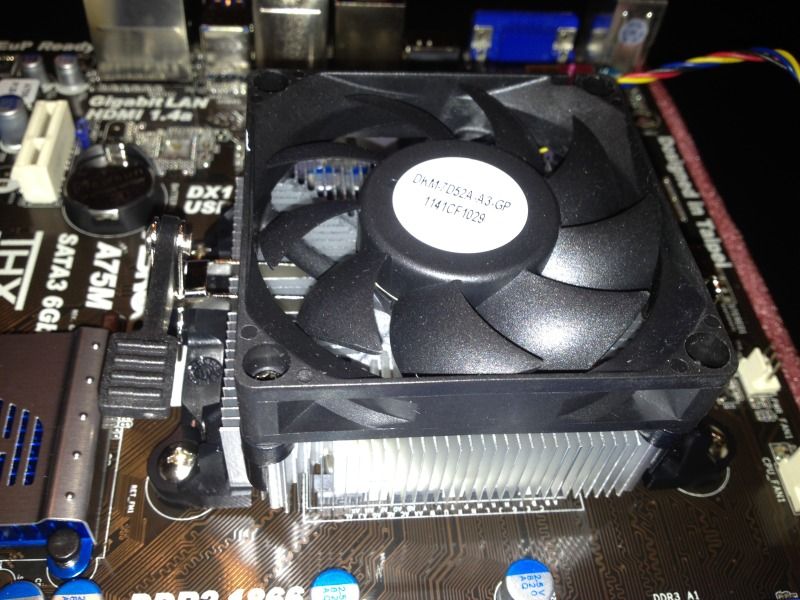
I used the stock heatsink for now. I watched a video (I forget where) which recorded the sound level of the stock heatsink fan and it is completely bearable IMO. If I find my temps are too high or the sound is distracting, I will definitely swap out! KEYNOTE: THE STOCK HEATSINK HAS PRE-APPLIED THERMAL PASTE ON THE BOTTOM. I had to type in caps so you guys don't end up with sticky fingers like I did. hahaha.
Image

RAM installed. Once again, really couldn't mess that up!
Image


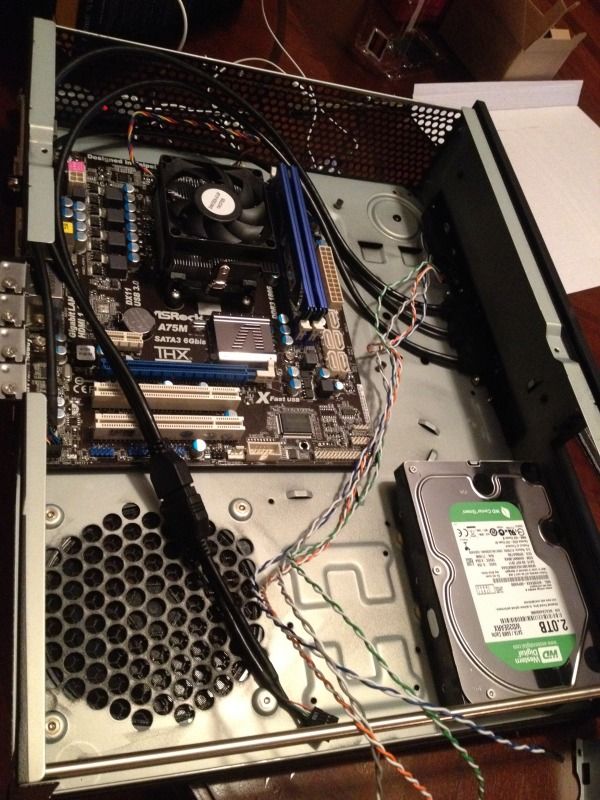
Got the 2tb green drive installed. I removed the optical disc drive tray to install. I was worried because the HDD did not come with any screws, however the case has plenty of screws for whatever you may desire.
Image

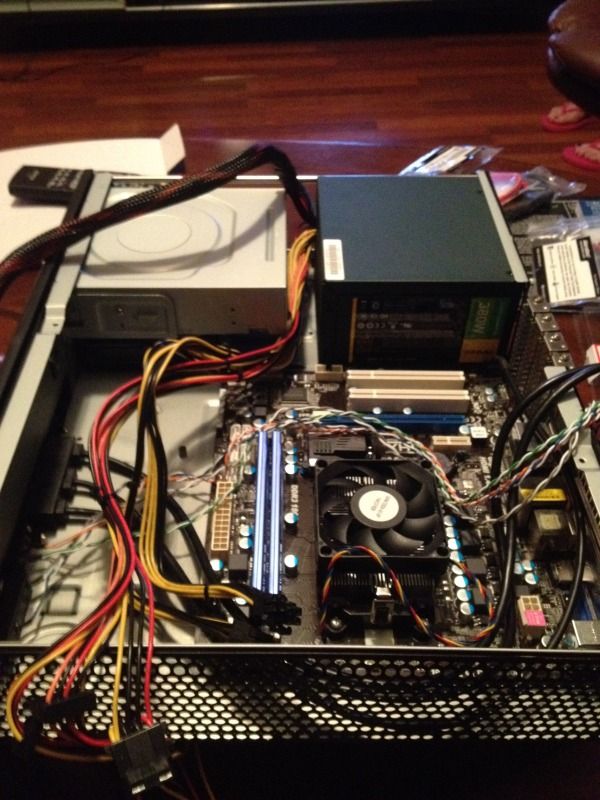
Warning: *****extremely messy cabling ahead****** fitting the PSU in after installing the optical disc drive (ODD) was a nightmare! In hindsight, I definitely would have installed the PSU BEFORE the optical disc drive since the disc drive is installed by sliding it in through the front (Definitely Obligatory "That's what she said"). Save yourself the headache and try it that way.
Image

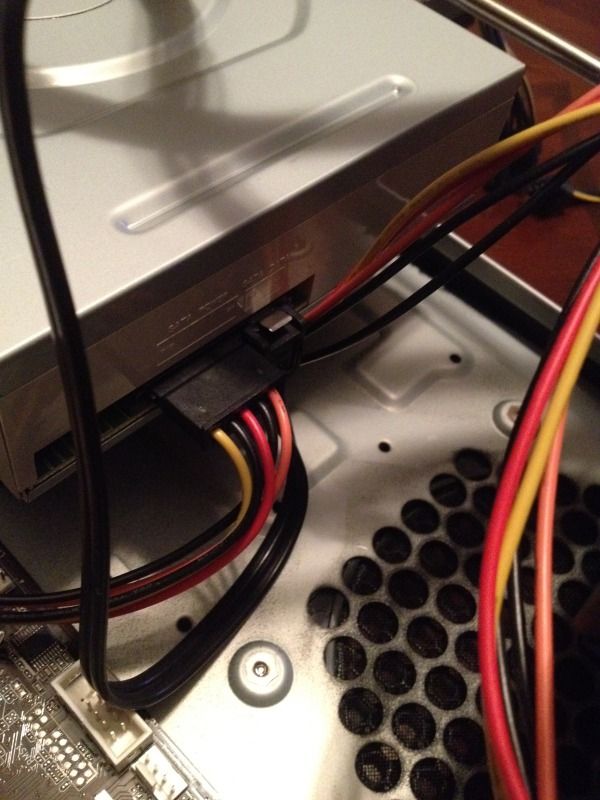
had to remove the PSU to install the SATA and power cabling to the back of the ODD. Using the 90 degree SATA connecter is a must!
Image

Close up of the 90 degree SATA connector and power cabling
Image

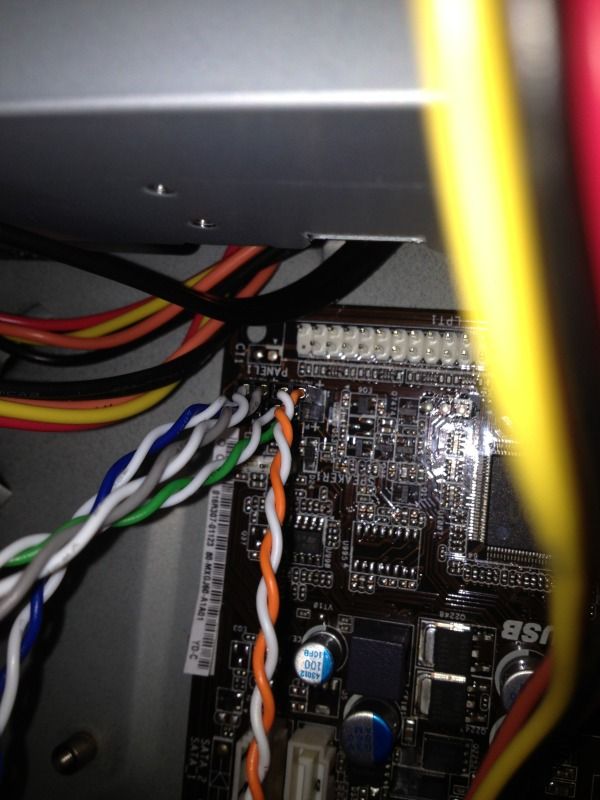
The tiny case connectors that Gort was talking about. I agree, had to be the most frustrating part of the build! Not hard to figure out where they go, just hard actually plugging them in! Hope this helps future builders.
Image


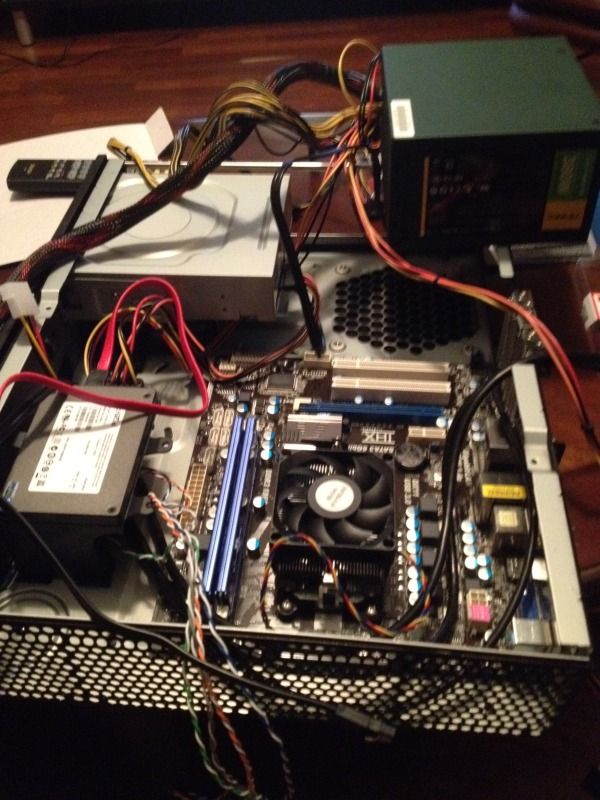
Here is a picture of everything, including the SSD, installed. This is before my attempt at wire management.
Image

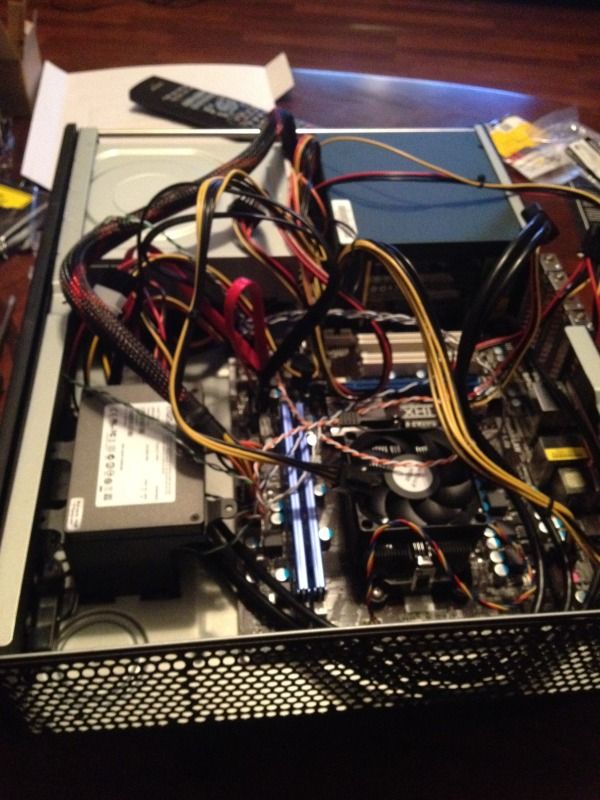
Here is a picture AFTER my attempt at wire management. Can you see a difference? Because I can't, lol.
Image

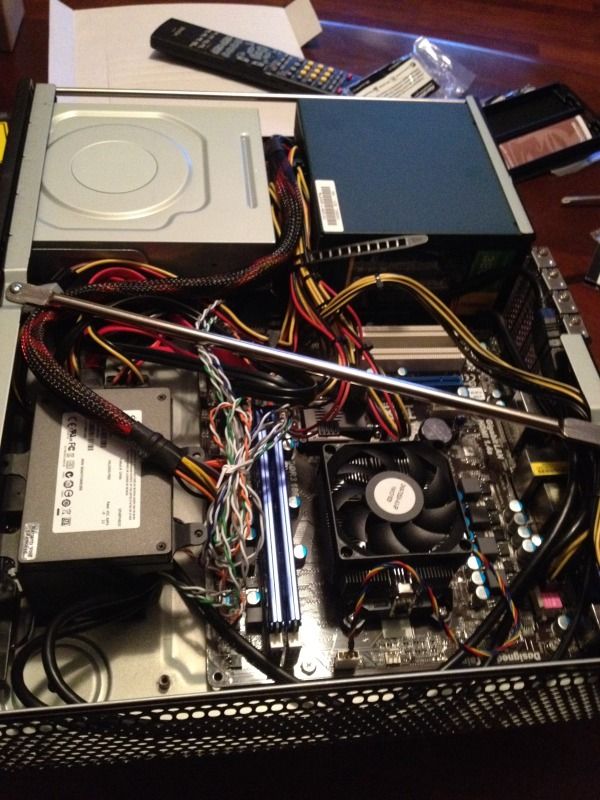
Overhead view of everything installed. Overall it was a breeze. There are a lot of simplistic tasks that must be completed but if I could do it, I'm sure ANYONE can.
Image

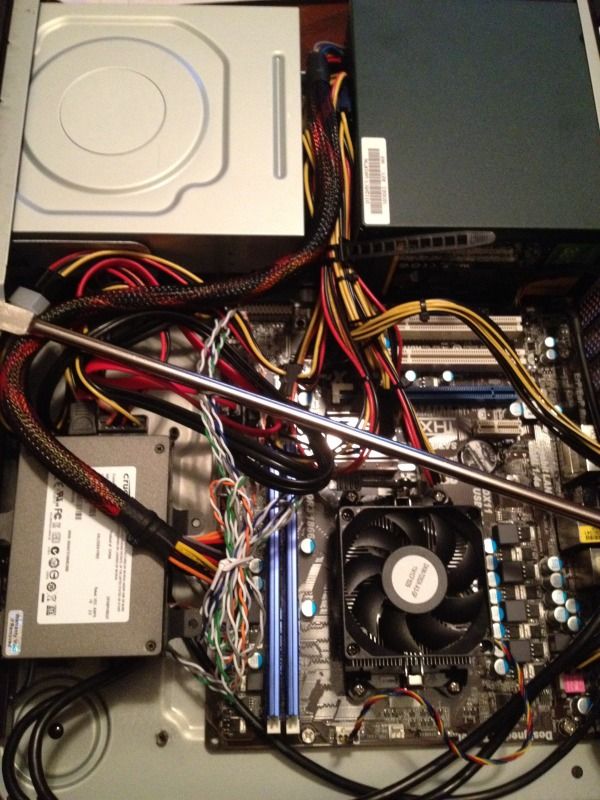
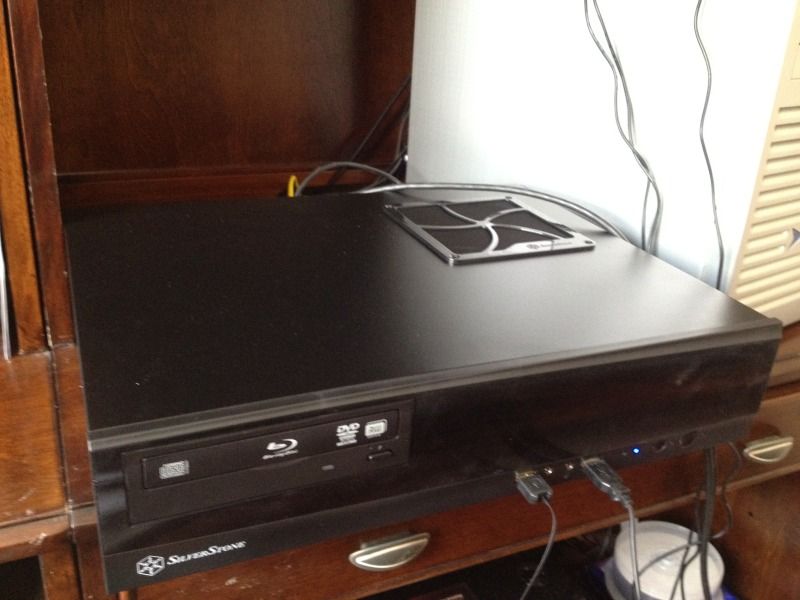
Here is a shot of everything in the case. I picked up a cheap usb keyboard and mouse just for configuring BIOS and initial setup. Had a huge sense of accomplishment when I pressed the power button for the time and everything came on!
Image

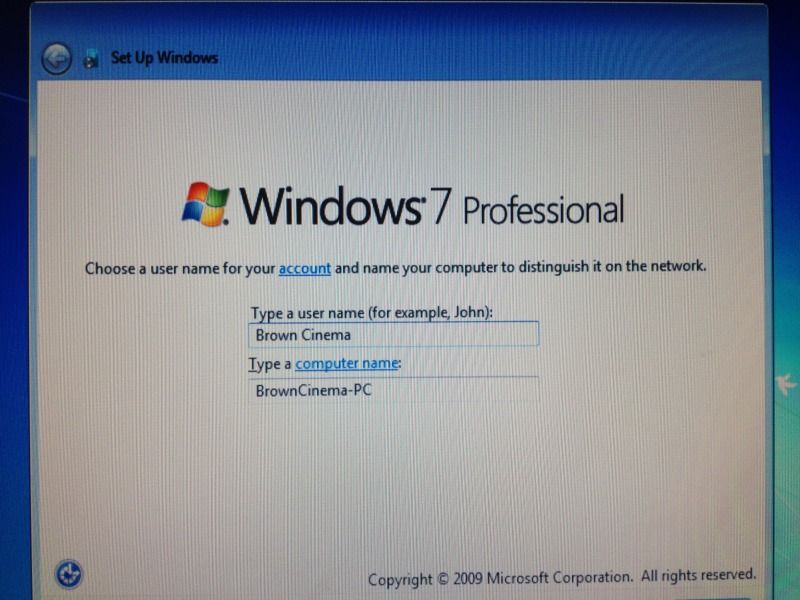
Windows 7 64bit installed!
Image


Here are the links to the videos that I used to walk me through the build:
ML03b case build

Beginner's guide to building an HTPC

I configured my BIOS from a post by Beer in Gorts thread, hopefully this links you directly to the post, if not, it is post #31
Gort's thread

Another GREAT guide that I used was created by Assassin. It has everything you need to know about HTPC's from building, to bios, to xbmc. Check it out!
assassin guides
Reply
#12
Awesome post with all the pics! Looks really good. Be sure to let us know how it all runs? Looks like lots of room still in that case for extra HDD's too if needed. Did you get an extra Silenex fan for the side of the case cooling also? Give us an update, and once again great to see some nice pictures.
Reply
#13
Looks great!
Been following your HT build on AVS....great work there also!

Did you ever build your UnRaid server? If not that should be something you should consider in the future.
For now the 2tb you put in should hold you for a bit...but youll soon see how quick your storage needs grow.
Luckily, a nice UnRaid can be built very inexpensively nowadays with Celeron processors being found for $35.
My unraid ran me about $200 plus the Unraid license plus HD's of course. And thats with a rack mount
case that would fit in your equipment cabinet nicely.

(Stay safe....looks like Isaac may be coming your way!)
Reply
#14
(2012-08-25, 00:13)Palmer Wrote: Awesome post with all the pics! Looks really good. Be sure to let us know how it all runs? Looks like lots of room still in that case for extra HDD's too if needed. Did you get an extra Silenex fan for the side of the case cooling also? Give us an update, and once again great to see some nice pictures.

Thanks for the comment. Everything is running smoothly thus far. I didn't opt for the extra fan because I tried to make this build a cheap as possible while also being suitable to meet all my needs. I will definitely monitor the temps though to make sure nothing is cooking inside there.

(2012-08-25, 01:35)dtviewer Wrote: Looks great!
Been following your HT build on AVS....great work there also!

Did you ever build your UnRaid server? If not that should be something you should consider in the future.
For now the 2tb you put in should hold you for a bit...but youll soon see how quick your storage needs grow.
Luckily, a nice UnRaid can be built very inexpensively nowadays with Celeron processors being found for $35.
My unraid ran me about $200 plus the Unraid license plus HD's of course. And thats with a rack mount
case that would fit in your equipment cabinet nicely.

(Stay safe....looks like Isaac may be coming your way!)

Thanks alot! It has been a hell of a lot of work these past few months but I would do it all over again! I definitely foresee an unraid server in my very near feature. I have a modest library of about 60 blu-ray discs. I don't plan on ripping them all to my HDD but I know that 2tb is nothing. I am already doing research on the server and the parts I will need. Did you post your unraid build here or over at AVS? Isaac was making a b-line straight for West Palm Beach a couple a days ago but it looks like it shifted to the west a bit. Then again, the meteorologists forecasts are about as vague as my uneducated guess....lol. Not boarding up but I have my generator on standby so I can play with the HTPC through the storm. hahaha. Thanks again!

small update:

I got XBMC (bitstreaming edition) installed on my HTPC last night and everything is running smoothly thus far. I plan on adding media over the weekend via Makemkv. I figured I would do most of the ripping on my pre-existing workstation. Do you guys know of a cheap reliable blu-ray drive that I could install into my workstation for this purpose? Would I need a drive that reads and writes? Thanks!
Reply
#15
So I just ripped my first blu-ray using Makemkv and when playing through xbmc, it appears to be playing in slow motion (only way I can describe it) it is a constant non stop judder during every frame. I thought I configured everything correctly but I don't even know where to begin to troubleshoot. Any ideas?
Reply

Logout Mark Read Team Forum Stats Members Help
My "Gort" A6 build for beginners1